How to create a Survey database in Civil 3D
Abbreviations:
DB- Database
C3D- Civil 3D
1. Setting up the Working Folder
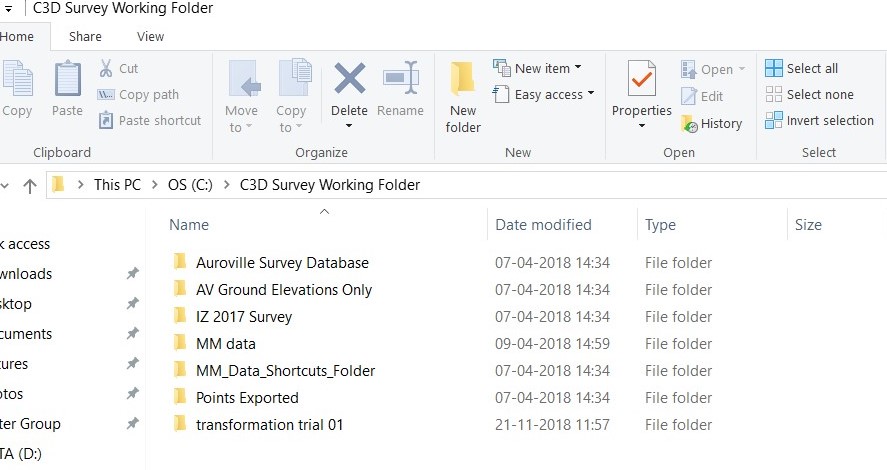
A working folder needs to be created where the survey databases gets stored. In the Toolbox > Right click on Survey databases > Set the working folder - Save the folder in the desired location. We are setting the Working Folder for the Civil 3D databases in C:
2. Creating a database
Right click on Survey databases > New local Survey database - Enter the name> click ok. A survey DB is created (It is in bold which signifies it is the current DB under use). Multiple DB's can be created. A survey DB can be opened for editing by right click > open for edit. It can be closed by right click > close for edits. A survey DB can also be opened as read-only by same procedures.
3. Setting up the database
Survey Database(abc) > Right click + Survey Database Settings > Specify co-ordinate Zone > Distance- Metre > Temperature - Celsius > Pressure - Millibars > Distance type - Horizontal > Vertical type - Vertical Distance.
Then the next step is to create the Networks under which the point data gets uploaded. For example in our case we have - TS and RTK
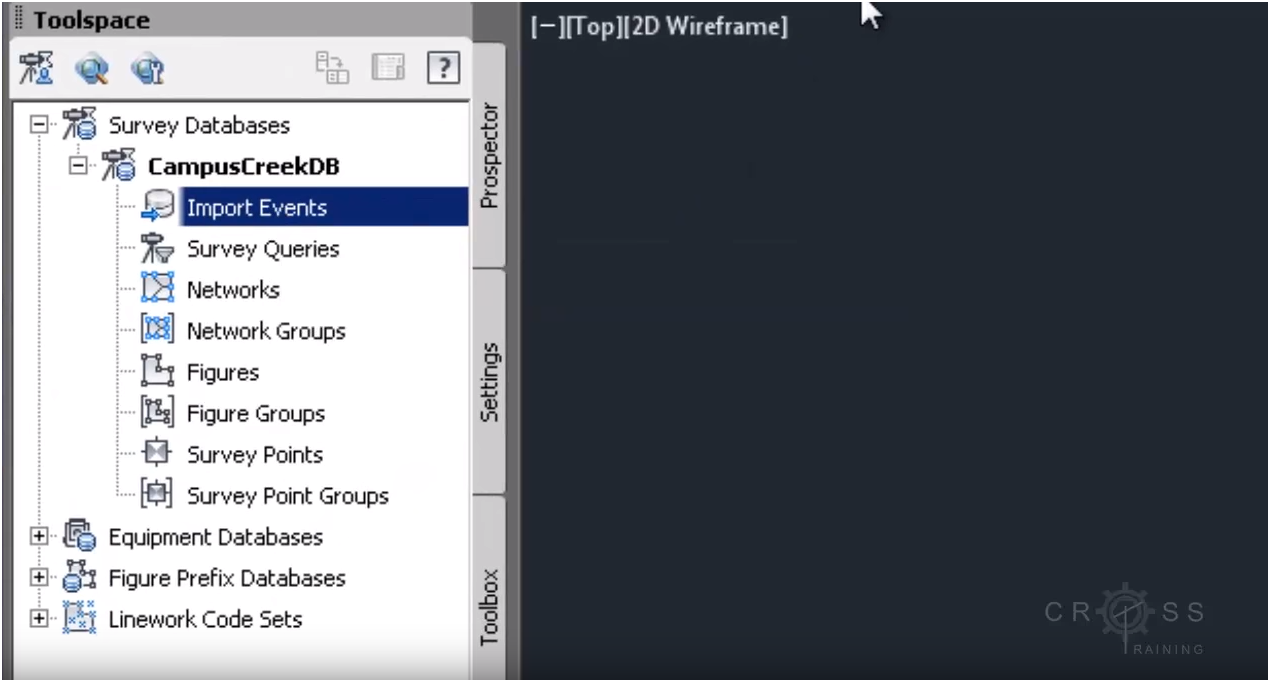
Components of Survey Database
Survey database in civil 3D has the following components when expanded.- Import Events
- Survey Queries
- Networks
- Network Groups
- Figures
- Figure Groups
- Survey Points
- Survey point Groups